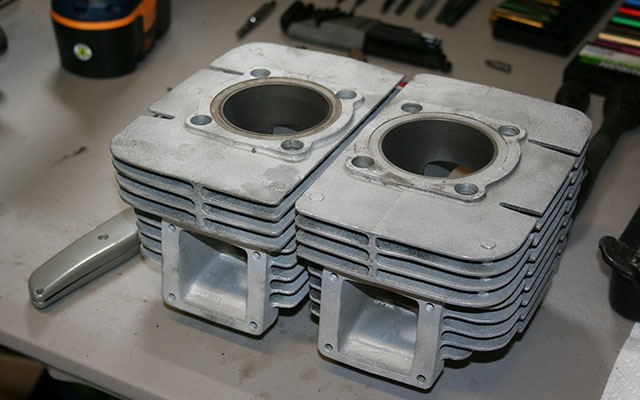
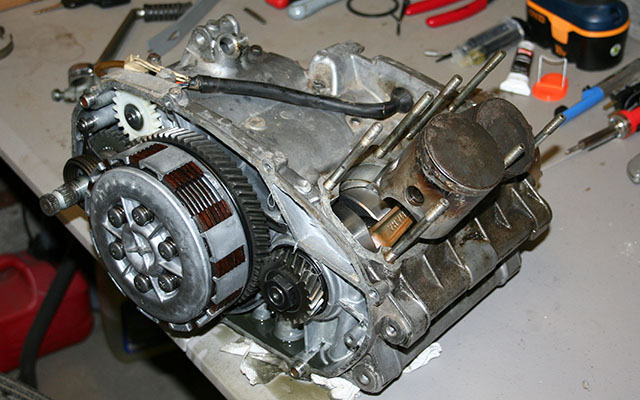
In the last few days I have made good progress on breaking down the bike further. I got the gas tank, seat, all of the boxes from under the seat, and the front pegs removed. I also took the cylinders and heads over to my friend John Walko’s of John Walko Racing. At his place I used the media blaster to clean off the 40 year old paint and grunge that had accumulated. The cylinders are done and ready for pistons sized, cylinders honed, and sent through the dishwasher for a good cleaning. I also used John’s solvent tank to clean up the case and transmission, though, once I get the bottom end and cases fully apart they will be subjected to a good bit more scrubbing.
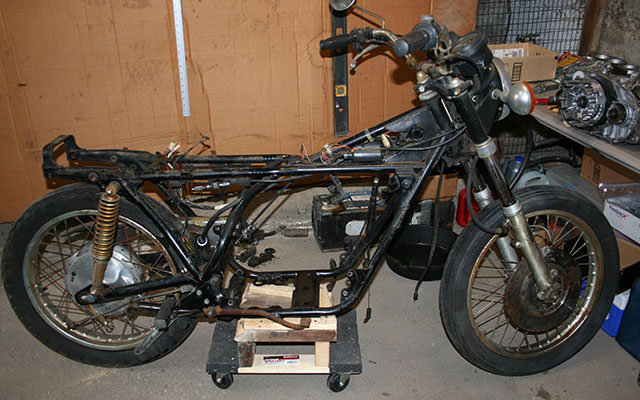
Once the chassis (do bike guys say that?) was stripped down to the way you see it below I took it to the car wash. There I was able to pressure wash off the majority of grease and grime the bike had accumulated. Between the car wash, bead blasting, and the cleaning tank it is now possible for me to work on it without looking like a coal miner at the end of the night. One small victory at a time.
I struggled a bit with the rear fender and grab bar. The rear wheel needed to be removed in order for me to get a wrench on the 10mm bolts holding the fender in place. Removing the rear wheel of course required that the bike be on a stand, which I did not have. A 10 dollar Harbor Freight dolly and some woods scraps did the trick. I just cut the wood to length with my circular saw then screwed the pieces together until I got a working stand. It’s surprisingly stable, but not particularly beautiful.
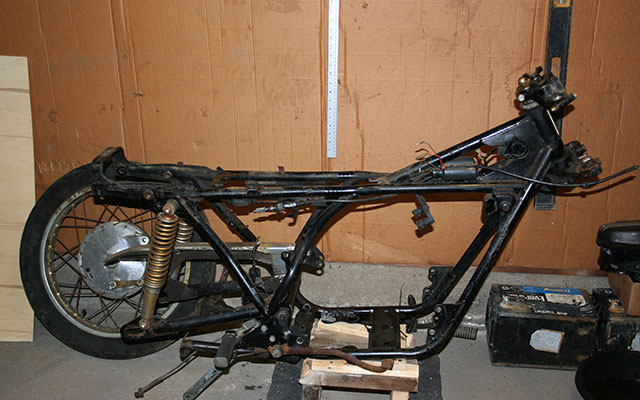
After the car wash I got started on stripping the frame further. One thing that surprised me, but maybe should not have, is the condition that the paint is in. It’s in surprisingly rough shape, and if I had any reservations about painting the frame they are gone now. I’ll be purchasing aircraft paint stripper and getting started on that as soon as I get the triple trees, swing arm, and other small components off. I anticipate that the paint stripping process will be a rather arduous task. I’ll use an angle grinder with a wire wheel to assist in the process. If the frame looks good after this, I think I will do a clear powder coat right over the bare steel. If it doesn’t look good, I’ll do a solid color of some variety, most likely black.
To close out this progress report, I have started purchasing parts. I got my Chinese rear shocks on the way as well as clip-on bars. I’m working on a set of expansion chambers. I initially thought that I would plunk down the cash for the Spec II Classic chambers. I like the way they look and from what I have read they make great horsepower. Since the wheels likely need to be replaced, I can not justify the price of the Spec II chambers. During my on line adventures I also found a set of Mikuni TM28 carburetors. I have read good things about these carburetors and I got a good deal on them. Since I’ll have dual exhaust gas temperatures and have found good information on sensor placement and desired temperature readings I believe that I can get these things jetted with ease. I also got pointed in the direction of replacement OEM fork tubes. Trying to deal with pitted fork tubes is a mess and these replacements will greatly simplify my front fork rebuild.
The progress continues, but I have a long way to go, so stay tuned as there is more to come soon! As always, feel free to write me below if you have questions or comments.
2 Responses
Keith James
Hi Chris, the RD350 is a great bike for converting to a cafe racer. I’ve seen some really great builds. Ebay seems to have a lot of parts for these bikes. Where did you order the shocks from?
It would be great if you could include links to the information and parts you are using for the build.
Chris
Hi Keith,
Thanks for the comments. I got the shocks from eBay, in the future I’ll start posting my sources. Searching “RFY shocks” should get you there. I just got my shocks Friday, expect pictures and comments soon. Also, I’ll be doing a shock rebuild post in the near future.