Even though the title of the article is The Completion I am going to preface this entire post and place a caveat on the build by saying that this bike will never be done. At the time of writing this article the bike is on its wheels, the engine runs, and I have ridden it. Despite that, I have five or six and maybe even seven or eight more projects that I want to work on. All of this in mind, I consider the build phase of this project to be over. All of the major components are in a condition where they function, thusly I am no longer building. Future projects will be experimentation, refinement, and general improvement phases. Now on to the completion of this build.
I left off with many parts being powder coated. Now I got the frame, swingarm. tank, headlight ears, and front fender back from my father who did the painting in his homemade paint booth.

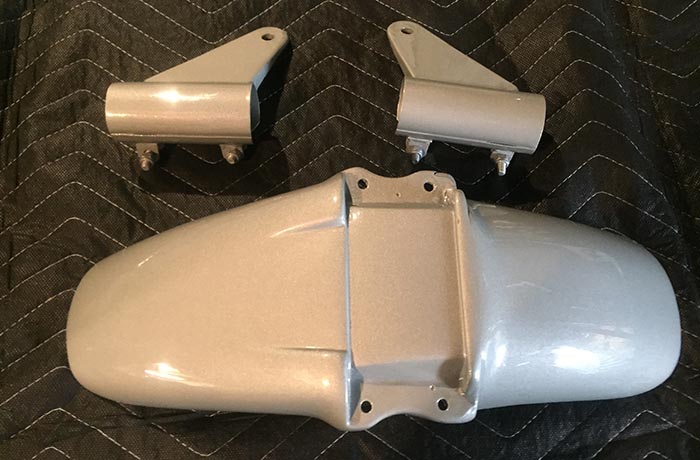
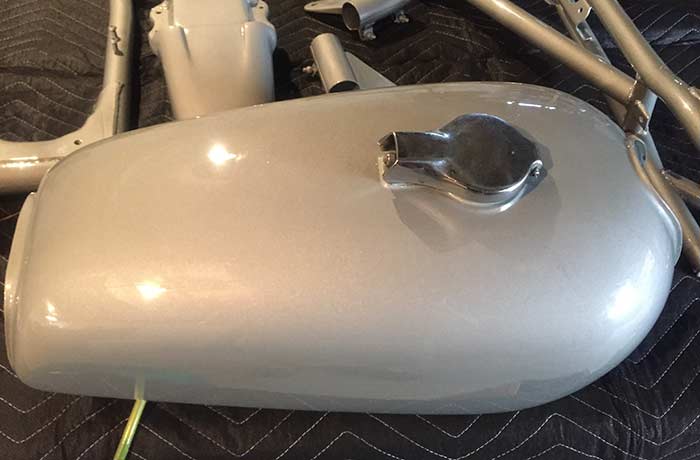
It looks really nice! The tank was painted before hand, but I had a little mishap in the garage and as a result it needed a little touch-up.
At this point I had all of the parts that I needed so I started assembly. The plan was simple. Get the suspension on, get the bike on its wheels, then start adding from there. Getting to the suspension however took some work. First the rear sub-frame had to go on. That required the use of some Hysol 120hp epoxy at the upper frame interface and more at the cross member. The epoxy bonds these surfaces together and greatly increases shear strength. That shear strength is very important at the cross member. The epoxy is 120 minute setup so I had plenty of time to get all parts trued up, rivets set, and bolts torqued. However, after the 120 minute mark it was best to let the stuff sit for 24 hours to let the epoxy fully mature. A frustrating wait, but a necessary one.
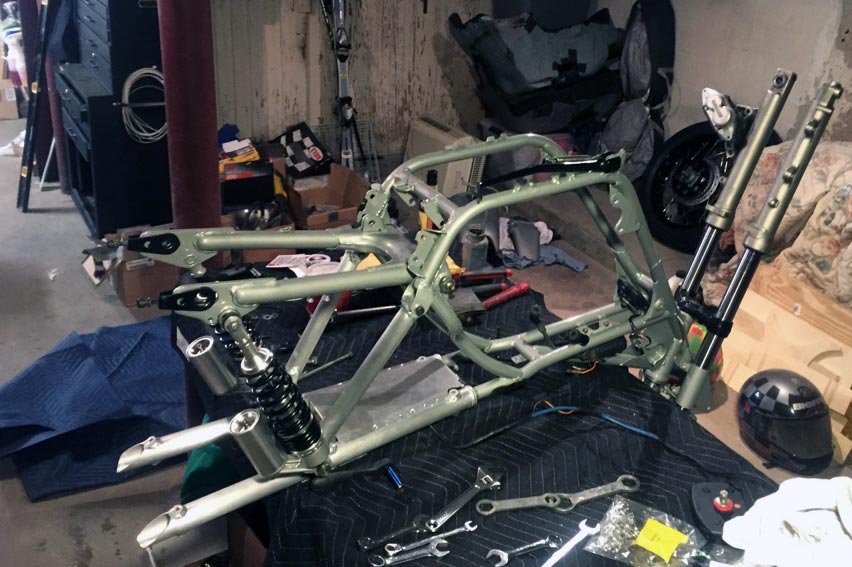
While the epoxy was setting I pressed the new bushings into the swing arm and got it ready. I also did a little work on my RFY shocks. I took the springs off of them, check over the damping, adjusted a few of the settings, and then reinstalled a new dual rate spring that I am playing with. Here is the bike with the subframe and rear suspension on.

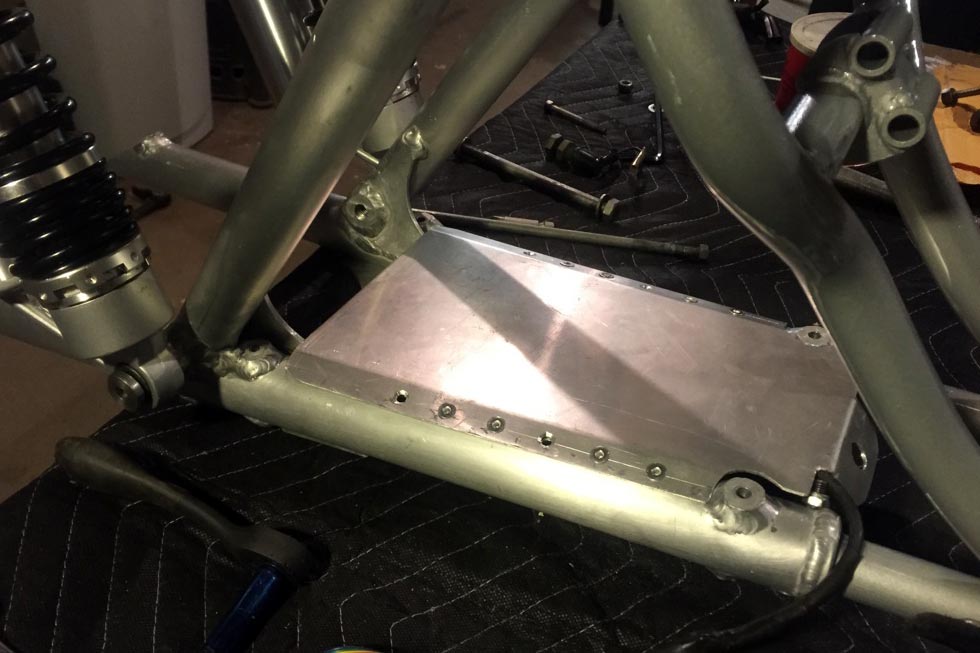
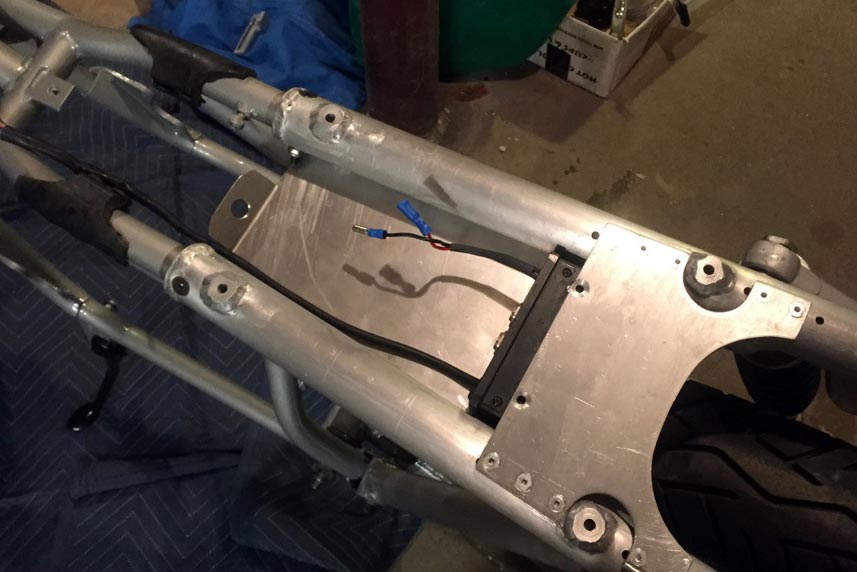
I had made a new electronics tray a few months back and that went on after the rear suspension. I lucked out in that I splurged and bought a right angle pneumatic drill. Without that drill I wouldn’t have been able to drill the rivet holes nice and neat, there is not much room to get a drill in there. As is, I was able to space the rivets on one inch centers and get nice perpendicular holes. All of the holes will get rivets once I am confident that everything is 100% as it should be.
I liked working on the frame up on the table, bicycle style if you will, so I continued adding some components there. I got the triple clamps and forks, the kickstand, and the chain tensioners in place.
From there I moved the bike to the floor. It was then easy to put the wheels on and work over the brake components a bit, making sure that everything was assembled permanently with anti-seize and cotter pins where appropriate. This is the first time that the bike was together enough to roll since December. That feels good!

The data acquisition system actually gets built into the subframe. It only fits one place and once the electronics tray goes on the system is in there permanently. Let’s hope all of the soldering and work I did inside the data box holds up! The space in between the subframe rails is all that there is to house the regulator/rectifier, battery, the bikes master switch, and then route loads of miscellaneous wiring around the bike. It will be very tight in there.
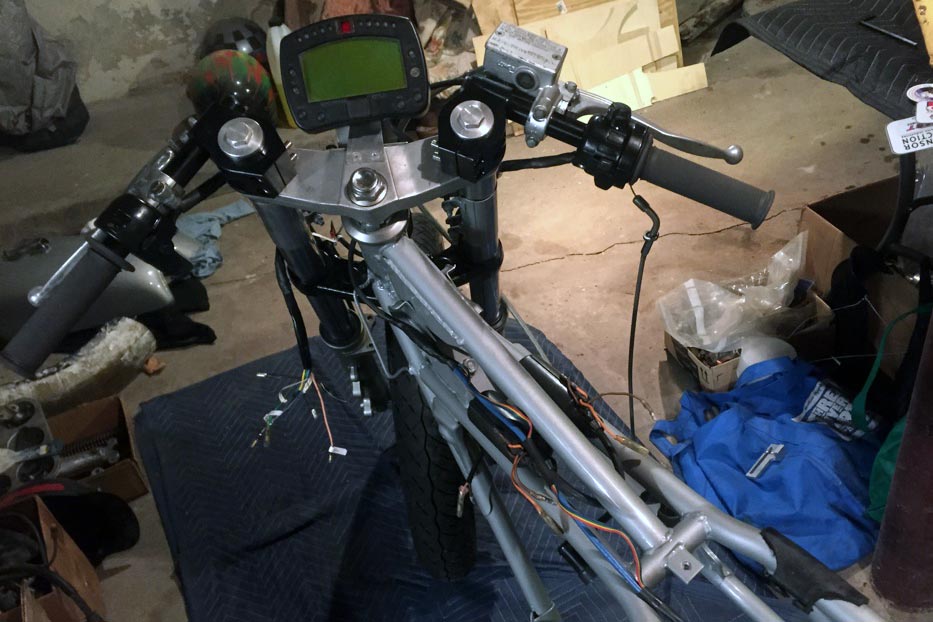
I mounted up the reworked controls and new clip-on bars. Everything looks clean and pristine, just the way I like it. There is a bunch of adjustment that needs to be done at this point. The switches and levers are not in the right places. That is the kind of stuff that gets done once you have a seat and foot rests as you have to assume riding position to know where they should be placed.
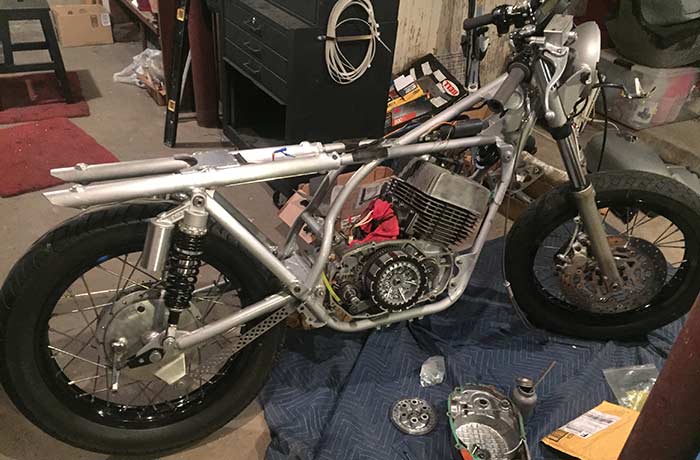
The next step was to get the engine in. No sweat, it only requires about five bolts to do so. I was very careful about getting it in there without scratching up the paint. I was fairly successful there. Once the engine was in I started on the clutch and got a new drive sprocket mounted up.
The carburetors were still apart from ultrasonic cleaning. I ordered new jets as I think the bike was lean on the clip and mains. So during assembly I fitted them up with the new 220 main jets and brought the needle up two spots on the clip. Assembly continued towards the clutch. I lost the ball bearing that is used between the clutch plunger and the push rod. Once that came in it was only a matter of basic assembly.
From there, I got the rearsets on, rear brake hooked up. This put me in a position where I only needed to get the chambers finished up. The chambers mount off the rearset bracket so getting the rearsets on was actually required. Plus, the rearsets look damn snazzy on there.
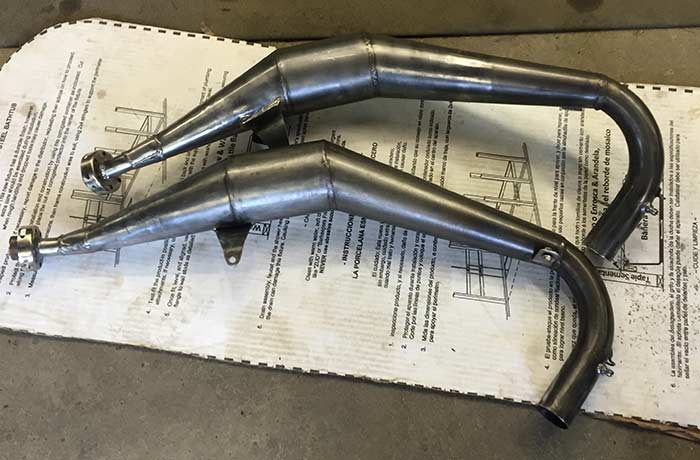
I am going to keep this simple, but in reality it was not. The new exhaust silencers had to be opened up. While they are nice cans, the internal dimensions were all wrong for this project, specifically, the perforated tube and inlets and outlets were too small. Here is what that looked like.
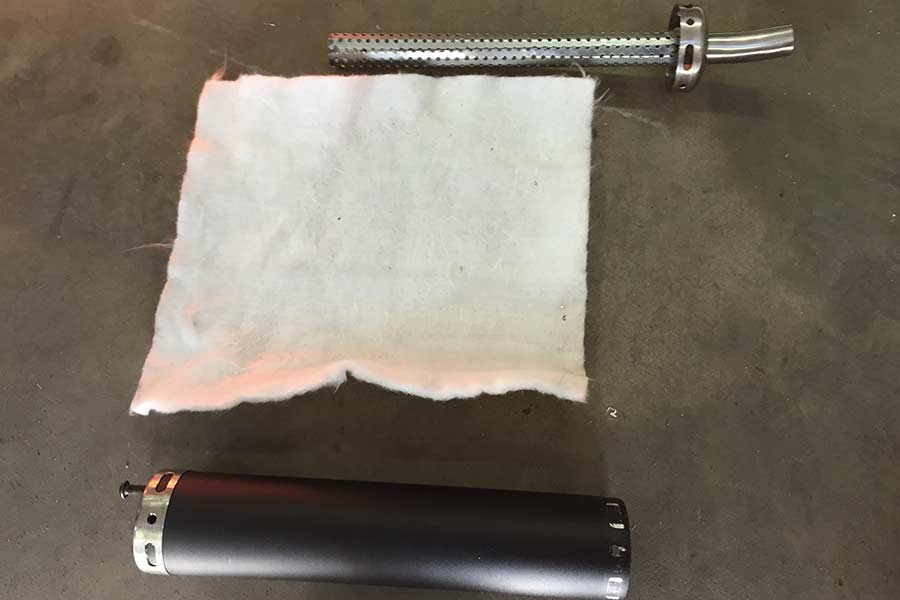
I then took a piece of tubing that had the correct I.D. and made stingers for each chamber as well as new exits for the silencer caps. Closing cones were also made for the D.G. chambers. In stock form, D.G. chambers do not have a proper ending cone or stinger and as a result do not make as much horsepower as they should, I fixed that. The D.G.’s then got exhaust gas temperature sensor bungs and a tab to brace the two chambers against each other. To finish the job I polished them nicely with a wire wheel. While seemingly trivial as per the the five sentences I described the process in, it took about four hours of solid work to complete. My father did all the welding for me, big thanks to him!
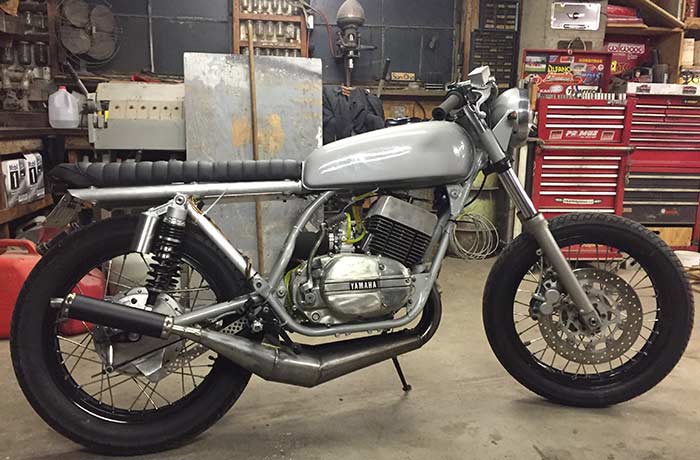
Since the bike at this point was basically complete all I had to do was mount those chambers and fuel it up. That was easy. On the first kick I realized I had left the ignition off. On the second kick it didn’t fire. For the third, the engine found life. Here the bike is warming, idling for the first time in 2015.

You’ll notice the coiled wires near the engine. Those are the exhaust gas temperature sensors that I had not yet ran to the data acquisition system. Those have since been wired in. There is an abundance of adjustments and refinements to be made. I will probably spend a day just adjusting the suspension alone. There is another few hours in fixing minor annoyances, and to finish the look I plan to add some color to the tank. For the time being however I can rest, the bike is complete and I even get to ride it! Awesome!
Before I officially closeout the build here is one more photo of the bike, but in marginally better lighting.
And finally, I managed to scale the bike. I was shooting for the bike to be around 300lbs give or take a few. I shattered that weight and it came in at 272lbs, with a full tank of gas. Here is a shot of scale readout.
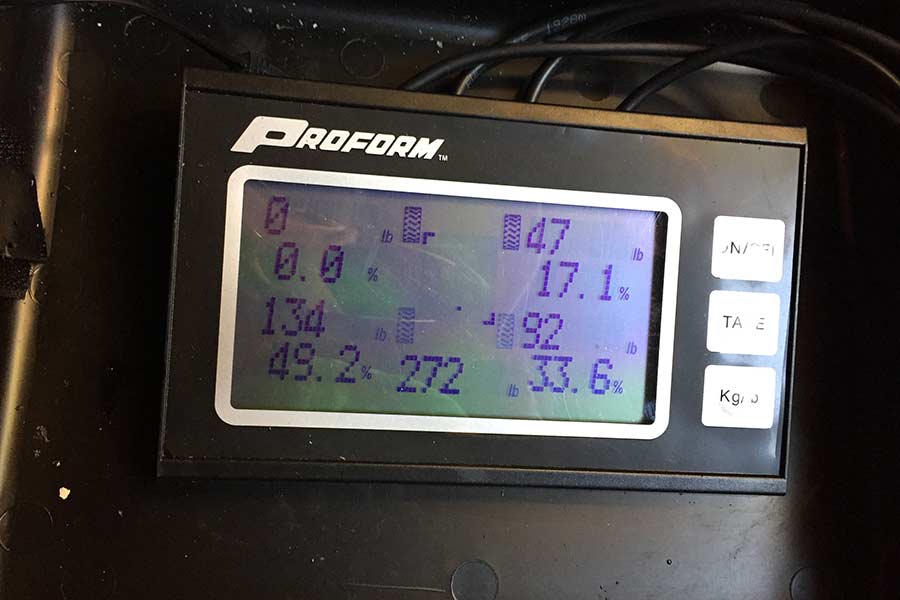
For a fully functional 40 year old motorcycle with turn signals, big brakes, and real suspension I am fairly proud of that number. Anyways, that is it for now! Make sure you stop back often!
Leave a Reply