
After weeks of sub frame work, cleaning parts, engine rebuilds, part sourcing, and a million other things I finally got to focus on a simple but critical part of the bike. That’s right folks, I now have a place to sit. Here is how it all went down.
The challenges, as usual, were many. The goal was to build a seat that was light, strong, and of a reasonable cost. Luckily, I had 2.5mm birch aircraft plywood on hand that I decided would be a great material for the pan. A single sheet of course provided for a flimsy seat pan, so I decided to use several plies to form a thicker sheet. I started by using a mock up seat pan that I made sometime in February of this year. The mock up pan was used when I was considering mounting options, working on tail-light and license plate mounts, thinking about electronics tray configurations, as well as other design considerations. After all of that, it turns out that the mock-up seat pan was spot on, meaning I got to use it as a part of the final product.
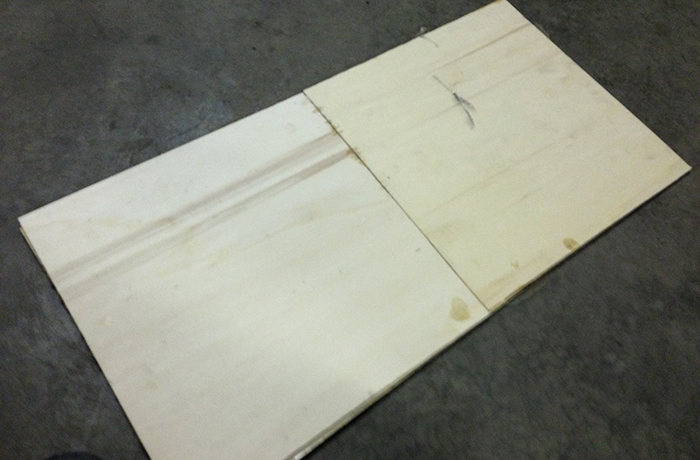
I made the mock up pan out of two plies of the birch. I pressed them together using large weights and used polyester fiberglass resin as the glue. The pan turned out stiff and light. Unfortunately, a flat plan simply wasn’t going to work. The rear suspension at full compression sees the tire come in contact with the bottom of the pan. To aid this I set out to create a pan with a concave bottom, a shape that would give greater clearance to the tire when the suspension gets squashed.
The process was simple. I cut each layer individually and then glued the stack together to form a pan that came out 14 millimeters thick. The depth of the concave center turned out to be about 10mm, and should provide more than enough clearance for the rear tire.
After the lamination of the pan itself was done I then needed a bit of kick-up on the rear. I am building this seat as a brat seat, as I intend to ride my girlfriend around with me. The kick-up however is multipurpose for me. I will build a cafe bump that will attach to the back of the seat for when I am riding around on my own, and the kick-up will tie nicely into the bump. Moreover, I needed a place to mount my tail-lights. My design philosophy thus far has been to embrace simplicity, so to continue in that vein I decided to just mount the tail lights on the seat pan. This is in contrast to creating additional brackets or attachments. Ultimately, the lipped up rear of the seat provides a nice space for the lights to get tucked away. Unfortunately, I will have to ruin these sweet lines a bit by hanging my license plate off the back.
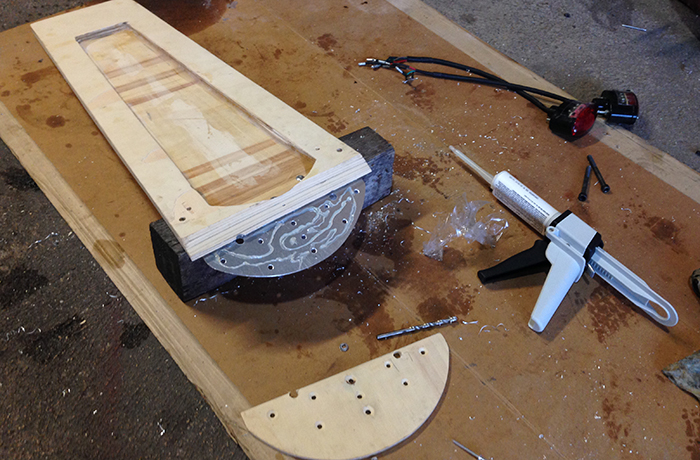
The kick-up is mounted to the pan via a aluminum support bracket I made. The aluminum is 2mm thick and was easy to shape and bend via a sheet metal brake. I cut the shape on a band saw. The aluminum panel was then pop riveted, either via rivets from the inside or by countersunk rivets from the outside, to the plywood. I used two part epoxy (Hysol) to bond the aluminum to the plywood. I also made a wood panel to mount to the aluminum kick-up, again out of the birch, which I made of two plies as the major strength of the system is carried by the aluminum bracket. Again, I attached plywood panel with rivets and two-part epoxy.

To finish the seat pan I needed to seal it from the elements. On the topside there will be closed cell neoprene rubber that will be capped with a marine grade vinyl. All of that will be great for weather protection, but the bottom side will also need to deal with moisture, especially if the bike sees rain. I contemplated various stains, paints, and other coatings. Frankly, I am inexperienced in these things and didn’t want to mess up what I felt was a really nice piece. As a result I decided to laminate the bottom in a single layer of fiberglass. I used unidirectional fabric and West Systems epoxy. The layup went smoothly and the end result is fantastic.
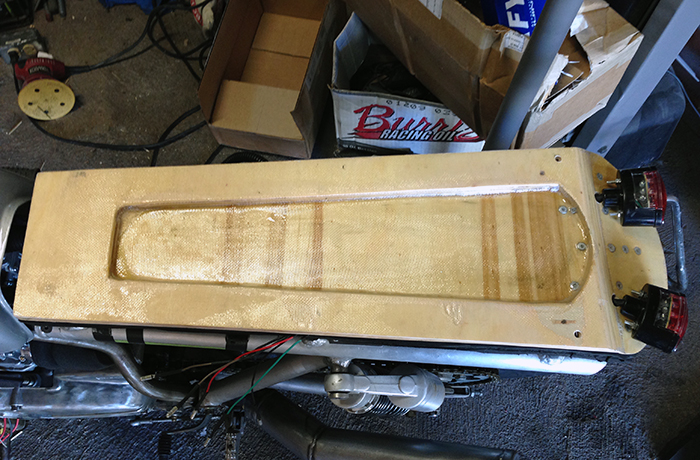
Once the glass was cured and trimmed I was able to start assembling the foam seating surface. The tail-light wires run beneath the seat foam along the seat surface and then exit the seat pan through a hole on the bottom, where they will connect with the bikes wiring harness. To accommodate that I had to extend the wires on the lights and figure out a plug system for those wires. Some soldering and ample shrink wrap took care of that. Note: in the photos you’ll notice that the light wires terminate with bullet connectors, those will ultimately be replaced by a 5-pole aircraft style locking plug. This will allow the seat to be removed via two bolts and one plug, vastly decreasing the complexity of seat removal.
I am using neoprene foam, it is closed cell and fairly cheap. I got 3/4″ and 1/4″ thicknesses so that I could best tailor the thickness to my needs. To start I rough cut pieces of the 3/4″ to the shape of the seat pan. I then glued the first piece down onto the seat pan, gluing only the front 5 or 6 inches of the foam. I followed that up by gluing the second foam piece to the first, again only attaching the first 5 or 6 inches. After arranging and attaching the tail-light wires with hot glue, I then worked backward gluing the seat another 6 or so inches at a time until the entire pan was covered securely. This provided a 1.5 inch thick seating surface that I hope will be comfortable while remaining fairly minimalist. Fortunately, if I find the seat too stiff, I can add 1/4″ foam incrementally until I get the right amount of comfort.

To shape the foam, I hit it with a combination of my belt sander and orbital sander. 60 grit sand paper worked well on both, with the belt sander doing the big work and the orbital getting the details. The process was messy, and that’s an understatement, but the end product was worth the hassle. Overall the foam was great to work with, albeit a little time consuming. In the end, the shape of the seat turned out better than I had imagined.
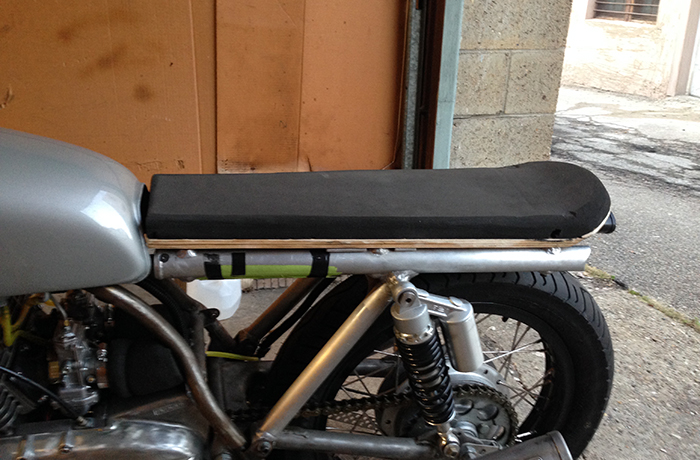
To finish, I mounted the tailights, though for the time being I am mounted them temporarily. I have done this to accommodate the upholstery people, in case they for some reason need to move the lights around some. Upholstery is the only service I will have paid for on the bike, but rightfully so, as I am confident that I would produce a hideous seat cover on my own. Tentatively, I hope to glue the seat cover to the bottom edge of the seat pan using trim adhesive and then secure more permanently with rivets. In the mean time however, I am going to ride on the seat a while. I want to make sure that I like the design before spending the money to have it properly covered.

The bike is nearly finished. In fact, in the photos above the bike is fully functional. There remains some wiring work yet, I have a few panels I need to make for the electronics, and I need to mount the dash and run those wires. My next post will detail the headlight and charging system. After that the bike will be dissembled and prepped for painting. As of now I am looking to be roadworthy by the end of October. Make sure to return for the conclusion to my RD350 build dubbed “Mia Wallace” in the coming weeks.
Leave a Reply