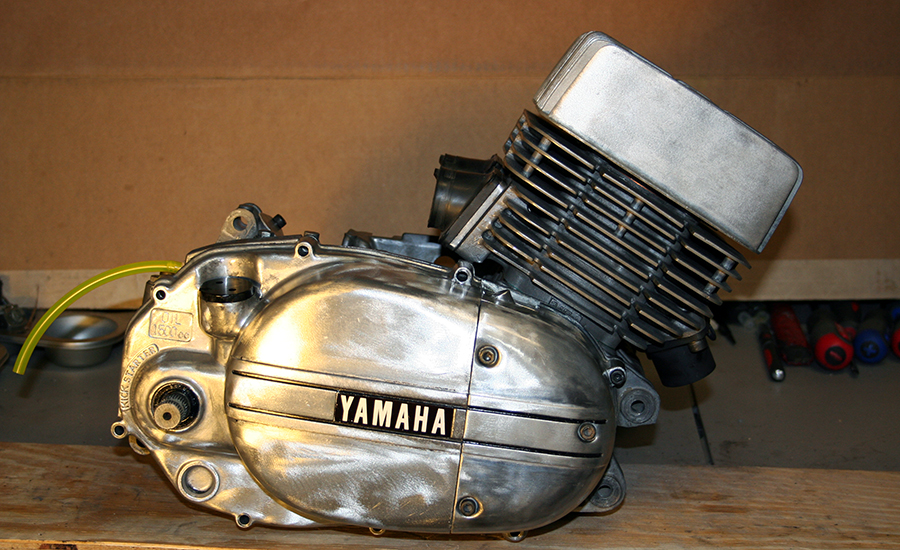
That’s a high resolution photo of the completed engine and it feels good! I still haven’t gotten to the points replacement, but it’s simple, I promise. I’m just waiting on some aluminum bar stock so that I can machine up a points cam replacement piece.

All of the bits for my wheels arrived last week. The hub painting was also completed. This left me with the option of building a wheel. That’s exactly what I did. This was the first time I ever laced a spoked wheel and in preparation I watched three or four YouTube videos on the topic. The process seemed simple enough, and having completed my first wheel, I can say that it is. That said, it took me three tries to get the front wheel laced correctly. Watching a video and standing over the wheel with 36 spokes in your hand are two different things. Spoke orientation can be, well, disorienting. My eyeballs must have crossed a few times. It took me a little while to get my head around the clocking of the spokes on the hub in proper relation left to right. What that meant was my inner spokes ended up too long on my first try, though the arrangement was correct. The second try, I got in a hurry and had the spokes all out of whack. On the third try I had played with the Rubik’s Cube enough to have a solid understanding of where the spokes should go. At which point, it all went together in a snap.
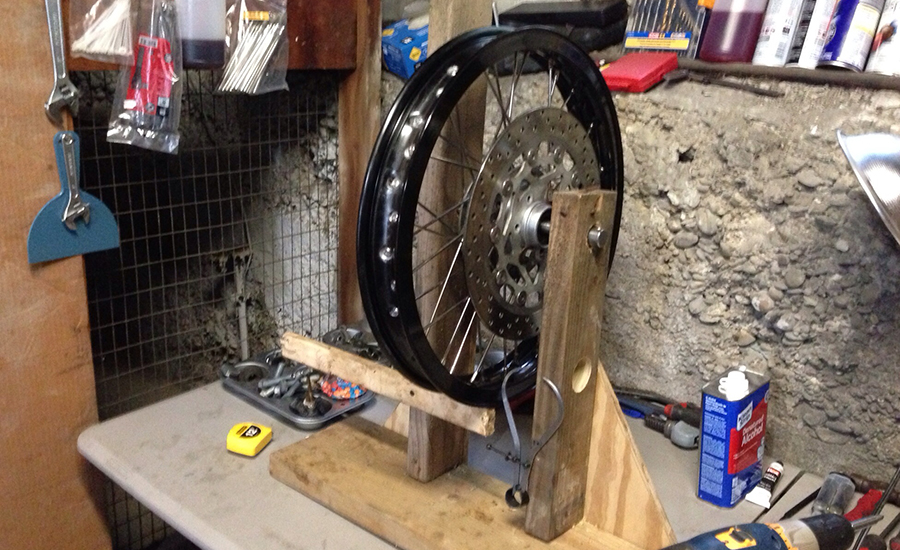
The wheel was not done though. I still had to true it, making sure remove both lateral wobble and vertical run-out. Of course, before I could true the wheel I had to have a truing stand. There are lots of stands built and sold exactly for this process. I have little need for a professional wheel truing stand. I only need to true two wheels. Cue the plywood, 2×4’s, and woods screws. It’s not pretty, but it is functional. The only thing I wish I had done is ordered a spoke wrench, my loose fitting 6mm box end had to do. Otherwise the process went well. I took my time when installing the spoke nipples initially which meant that they were evenly installed. Truing the wheel was just a matter taking my time and methodically tightening spokes. It took many spins of the wheel, and it has a very minor amount of run-out that I couldn’t seem to eliminate, but overall it is pretty good. Lacing the wheel was a rewarding project for me. In my opinion, the wheel looks spectacular! I also mounted the FZR600 rotor for the purpose of mocking up the front brake. The rotor to wheel ratio is pretty nice for a forty year old motorcycle and those stainless spokes really shine! Also, for those working on an RD350 and wishing to do a wheel upgrade I’ve listed the parts with the parts numbers below.
I’ve put in more time on the gas tank and it’s beginning to shape up. I’ve continued to fill and shape the dented areas. I started by laying down a rough but thick layer of Bondo. I gave it a quck sanding using my orbital sander and 80 grit paper. This knocked off the high spots and brought out the imperfections in the Bondo. I filled on these areas three or four times more, each time correcting smaller and smaller imperfections. I stripped my tank completely and that gave me a good base to apply the Bondo. I could have just roughed up the paint with 220 grit paper and applied on top of that, but I wanted to evaluate the tanks condition underneath the paint. The tank is nearly ready for priming now. Priming will allow me to get a better eye on curves of the tank and it will almost certainly require more filling and sanding. I’ll be using a high build filler/primer product and these types of primers make getting a nice finish easy, but still time consuming. Before I will prime though I need to work on the gas gap and filler neck. The OEM cap doesn’t lock anymore and is damned ugly if you ask me. I don’t know how I am going to modify it exactly, but I’m open to suggestions.
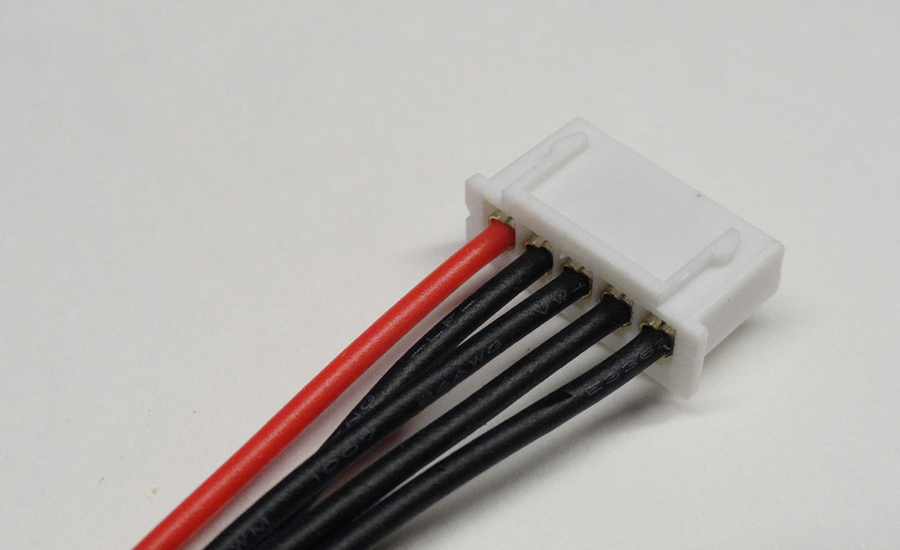
I also managed to source and order up parts to complete the front end as well as the battery. For the front end I decided that a taper roller bearing replacement for the old ball bearing setup would be best. For thirty bucks the tapered rollers improve the feel of the steering, are a better engineered solution, and are the icing on the cake for my FZ600 front end upgrade. The XS650 front end is for sale below. I also purchased 6061 Aluminum bar stock so that I can machine the necessary bushings and spacers to adapt the RD350 wheel to the FZR forks. For the battery, I sourced 4mm bullet connectors that will allow me to connect my battery to the bike. The connectors are good for 80 Amps which should be more than enough for the bike. I also got a JST-XH 4S balance plug. This plug just allows me to connect my battery to a lithium-ion charger and balance the cells properly.
Many of the small details for this build are getting worked out. Now with the engine complete, it is officially time to move onto suspension and chassis. Gas tank preparation and painting will continue as well.
Parts list:
- H 1.85×18 36 hole rim Black (Front) – New – MikesXS.xom (Part #34-3181)
- H 2.15×18 36 hole shouldered aluminum rim Black (Rear) – New – MikesXS.com (Part #34-3182)
- Stainless Steel 36 Spoke Kit (Front) – New – MikesXS.com (Part #19-0067)
- Stainless Steel 36 Spoke Kit (Rear) – New – MikesXS.com (Part #19-0060)
- Taper Roller Bearing Stem Kit – New – Allballracing.com (Part 22-1007)
- 4mm Bullet Connectors – New – eBay.com
- JST-XH 4S Balance Plug – New – eBay.com
- 6061 Aluminum 3/4″ Diameter 3′ Length Bar Stock – New – Mcmaster.com
The time has come for me to start selling some parts. I’ve begun listing on eBay and have included a list of the parts I am selling below. If you are interested in something just head to the ebay listing, or if you prefer leave a comment below. I am willing to negotiate sales outside of eBay if that is preferred. Many of these parts are interchangeable with RD250 and RD400 as well.
For Sale:
- RD350 Oil Pump $25
- RD350 Gauge Cluster (less speedometer) $40
- XS650 Front End (forks and triple clamps) eBay Listing
- RD350 Clutch Plunger $10 – eBay Listing
- RD350 34mm Fork Seals $10 – eBay Listing
- 34mm Clip On bars $50 – eBay Listing
- Assorted other RD350 Stock Parts, just ask
3 Responses
Burns
I found your blog from a post on reddit.
I’m looking forward to seeing how your build progresses, I have a 72 RT 360 and I’m wanting to do a nice cafe resto-mod with it.
Chris
Thanks! I plan to start working on the frame soon. Unfortunately the cold weather has slowed me down lately.
The RT360 is a cool bike, have fun with it!
Jon
Chris,
Nice finding your blog on the RD. Great story so far.
I’m an old RD rider myself although mine hasnt run since 85! I have my original RD350 with rearsets and full dustbin fairng it had originally been a street to track bike but became my first streetbike. Nobody knew what a cafe bike was back then, but they did know it stood out. I got my motorcycle endorsement when I was 17. The RD was great fun. I have only riden cafe and sport bikes and currently ride a 2005 Yamaha YZF-R1 Raven. I still have my old RD and want to restore it so I will be watching your project. Have fun and be safe.
Jon