I have at least three blog posts that all ended up sitting on the back burner and for one reason or another never made it to the light of day. There was one on electricals, my new shop, and another that went over some various details of the bike. Suffice it to say, it has been a crazy few months. Like I mentioned, I have since moved home and shop and that alone has been a huge requirement on me and my time. On top of that, my RFY shock services have continued to grow. All of these things have come together in a way that it has made it difficult for me to focus directly on my RD350 Café build dubbed Mia Wallace. However, progress has been made, even it was over long drawn out periods of time.
First up, the bike is completely disassembled currently. The frame and most of its components were in need of coating of some variety. Additionally, the wiring while functional needed a huge amount of revision. The plugs were soldered on in some cases but only crimped in other cases. Moreover, I had damaged the paint on the tank slightly when I was cleaning it so I wanted to wet sand it and put a new top coat on. Finally, there were many little issues. For example, one of the clip on bars was slightly bent, and at the end of the day I was never going to be satisfied with it like that so it was just one more thing on the list of things to do. So over the winter I set out to correct all of these issues. In this post I will outline these items with photos and a few words.
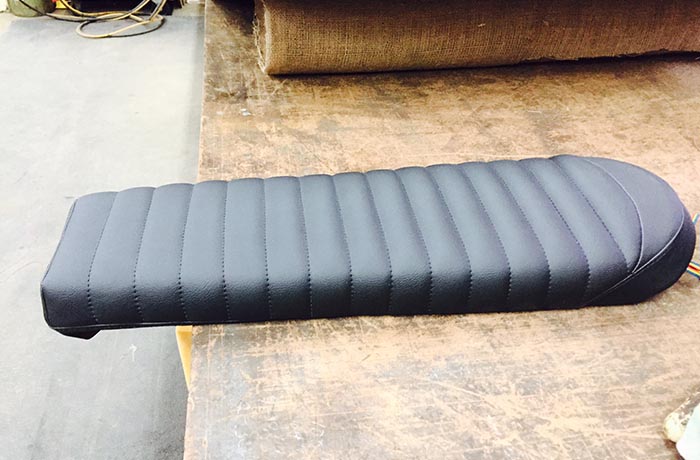
The seat needed to be covered. I am no expert here, so I dropped it off at a local automotive upholstery shop. It turned out glorious.
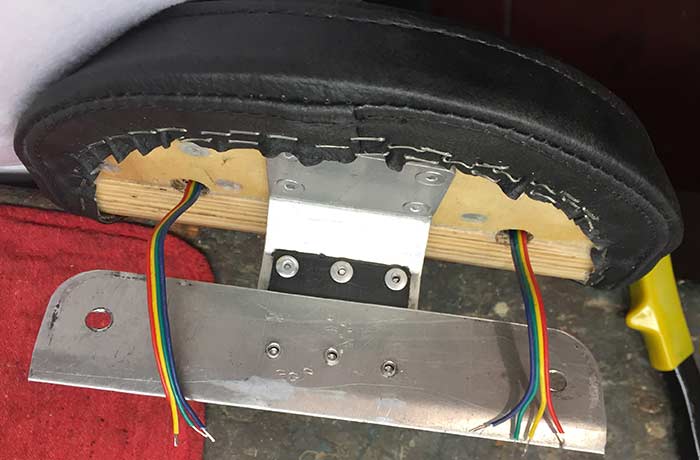
The tail-lights and license plate were temporarily mounted before. Now that the seat was covered it was possible to go for permanent mounting. First on was the license plate bracket. It was modified to include a flexure. The bracket when solidly mounted didn’t love the vibration it experienced and I occasionally encountered loose rivets and even some cracking of the bracket. The flexure should solve this.
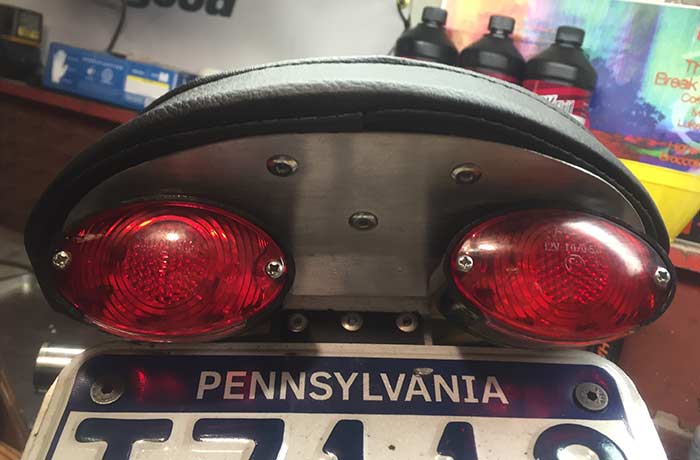
Then I cut out a nice little vanity panel to dress up the kickup at the rear of the seat and used Hysol to epoxy the tail-light housings to the panel. That panel then was attached via 3/16″ rivets. The finished product is snazy. The lights are soldered in without plugs, the less plugs the better.
I then set out to clean up and coat a lot of the small pieces on the bike. One of the big challanges here was deciding what to use to coat these pieces. Paint usually doesn’t hold up well on small parts and it is a major pain to even get a good coat on them. Also, many of the parts had lots of rust and pitting, so they were never going to end up with a perfect gloss finish. Ultimately I decided to powder coat all these parts. Here they are a few parts just out the blasting cabinet. They look good!
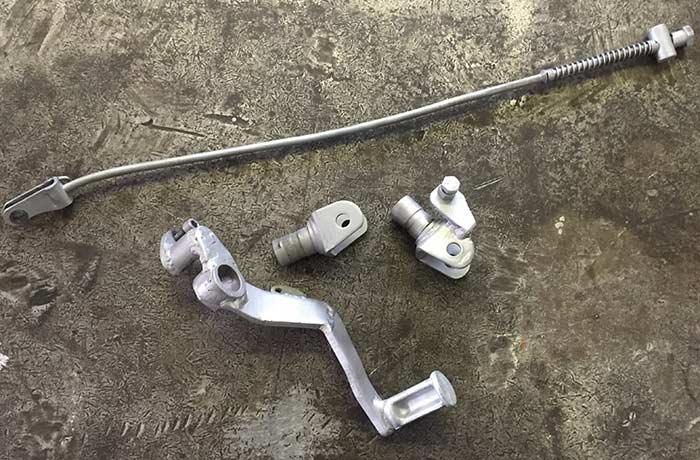
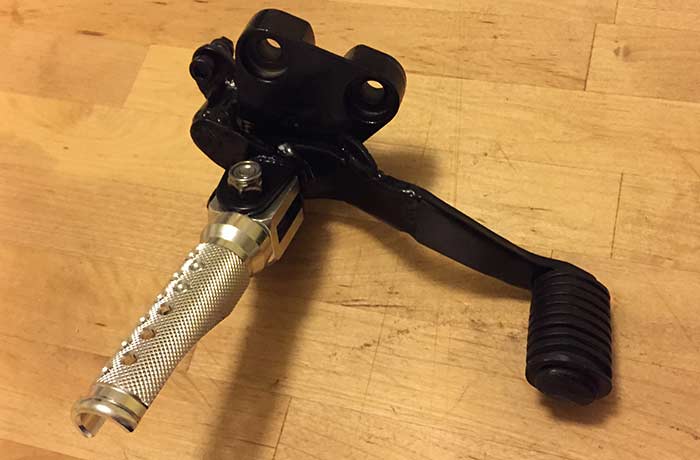
I purchased powder coating equipment from Harbor Frieght and then sourced some quality powder from another supplier. I personally had never powder coated before, however, I was privy to some powder coating action at my uncles small factory one time. As a result I had a very good idea of how the entire process went down from a first hand perspective. Honestly, I am very impressed with the Harbor Freight gun. Is it perfect? Not even close, but it produced some really nice result for me. I baked all my parts in a $5 toaster oven that I picked up at Goodwill. It was a fairly unsophisticated operation that produced some nice results. Here is the brake lever from above all coated up. Notice I also upgraded to some sweet Emgo pegs.
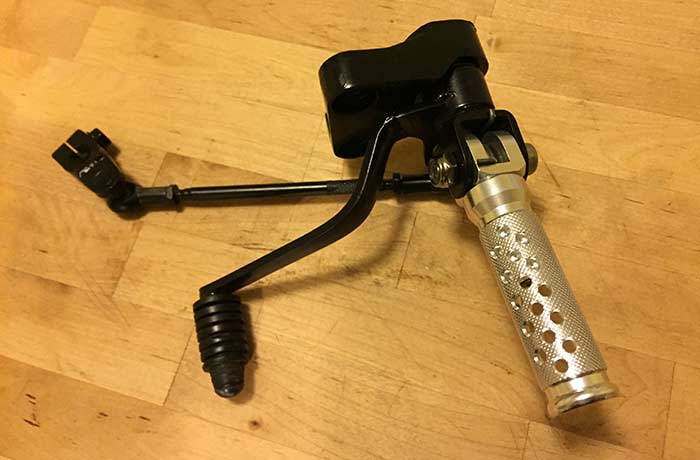
Now for the left side rearset. It’s worth mentioning that I coated the FZR bolt on rearset piece (the triangular bracket) as well.
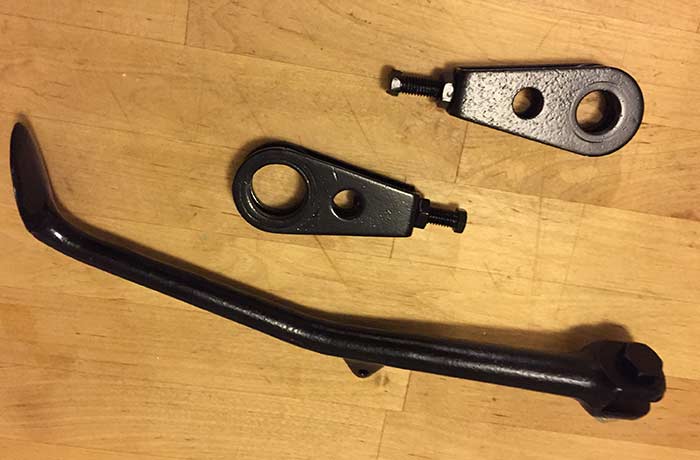
To complete the entire process I went ahead and did the kickstand, the chain tensioners, and the brake rod. I forgot a photo of the brake rod, so you’ll have to imagine it in all of its glory.
The final piece to the puzzle and what was a last minute decision was to do the handle bar controls. The original paint looked okay, but who wants “okay” when the rest of the bike looks fresh and new. I completely tore the switches down and removed all the wiring from the control housings. That gave me the oportunity to clean all the contacts and lube the switch detents. Once powder coated and reassembled I also dressed up the wiring with some new shrink wrap in places. It’s not perfect but overall the look and function should be very sound.

The project is coming down to the end here. I have a minor amount of work on the wiring harness. Otherwise, I am at the point where I can fully assemble the bike. The last fabrication requirement of the project is the expansion chambers. You might be wondering why they will be the last part to get worked on. The chambers are going through an extreme modification in the name of more performance, unfortunately I need the bike to be together before I can weld them up. Once the bike is on its wheels, the very last thing I will do before I can ride again is to build those babies. It should be an interesting journey, so be sure to check back for episode 17 The Ultimate and final post about my café build. That isn’t to say that I won’t be posting about future projects involving my RD350, but the build itself is nearly over! Exciting times!
Leave a Reply